
尝试过,使用 Windows MiniConda 来部署 MiniGPT-4,均被限制在了显卡驱动环境上,查阅资料后发现 Bitsandbytes 对 Windows 系统并不太支持,最终放弃了 Windows MiniConda 部署的想法,转而使用 Windwos Wsl 子系统 Linux 代替 Windows 部署。同时,此文章内容可视为 Linux 部署 MiniGPT-4!
一、安装 WSL
Windows 安装 WSL
二、安装 Git
# yum install -y git [如果有Git可以忽略]
# git --version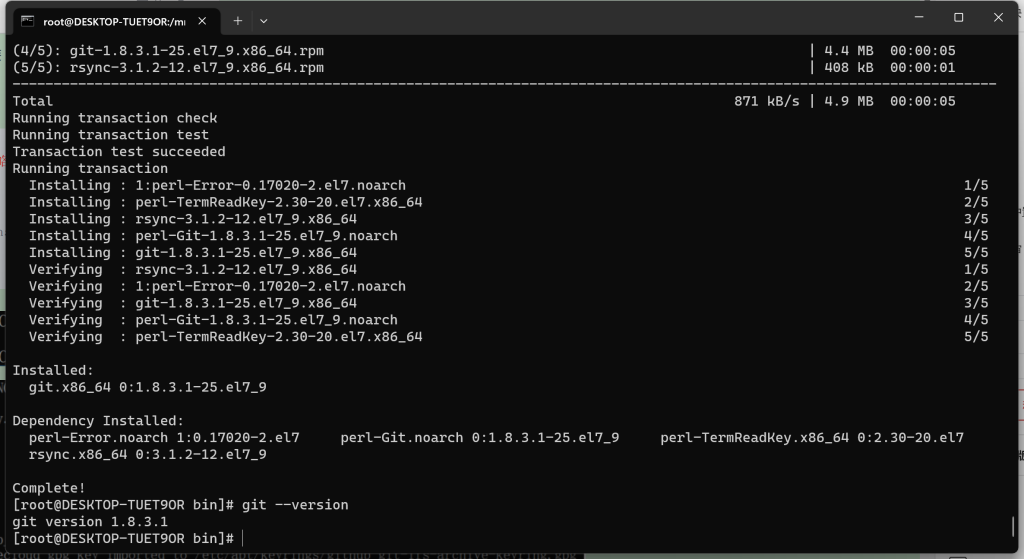
若需要使用 Git 下载权重的伙伴,可以按照教程安装 git-lfs 先,否则大文件下载将会失败。
Linux 安装 git-lfs
三、安装 Conda
Linux 安装 MiniConda
四、安装 Nvidia、CUDA、cuDNN
WSL 安装的 Oracle Linux 默认有 Nvidia 驱动,执行 # nvidia-smi 可查看信息。
发现在安装 FastChat 时,会自动安装 CUDA 环境。【请忽略,往下执行便可】
五、创建目录
# cd /mnt/d/Desktop/
# mkdir MiniGPT
# cd MiniGPT
# ls
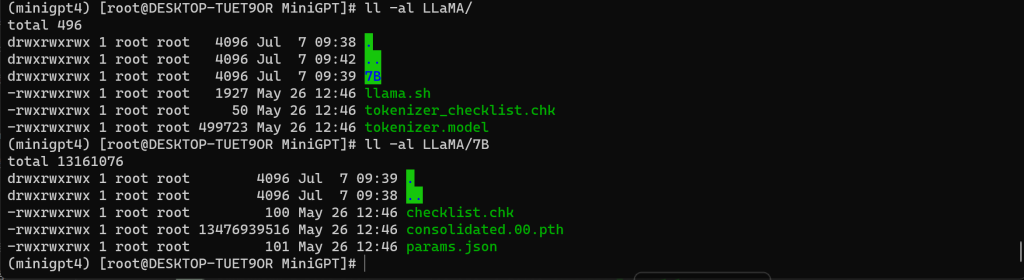
六、获取 LLaMA 权重文件
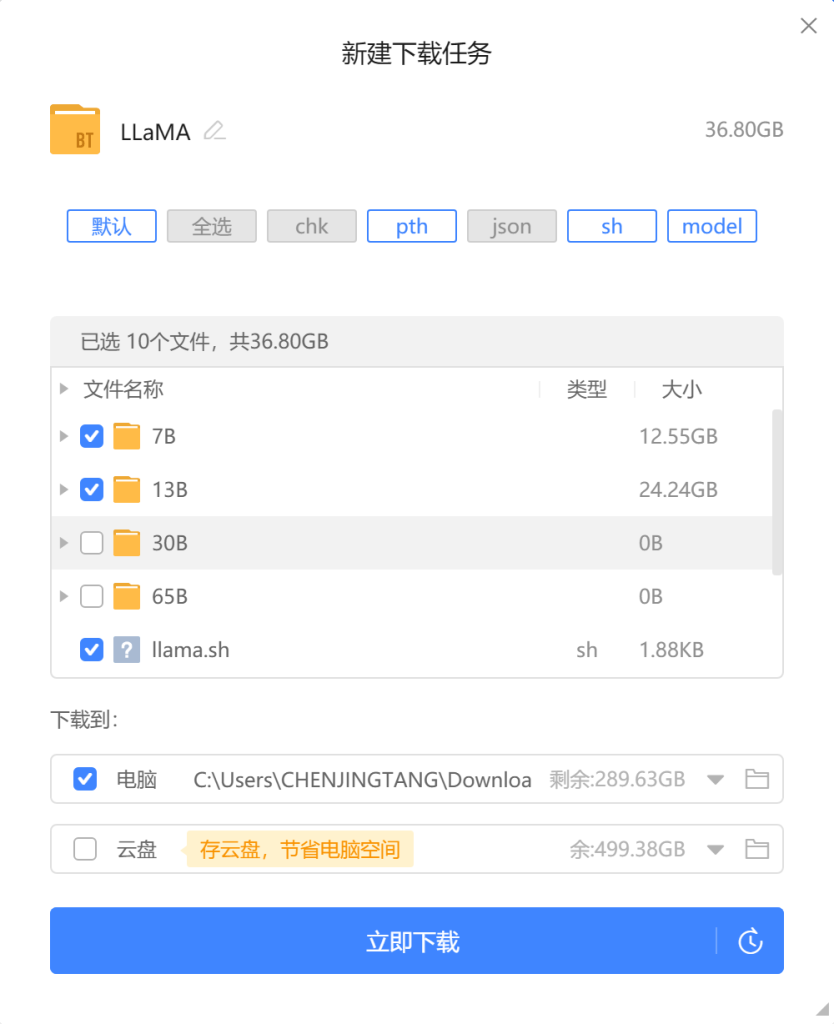
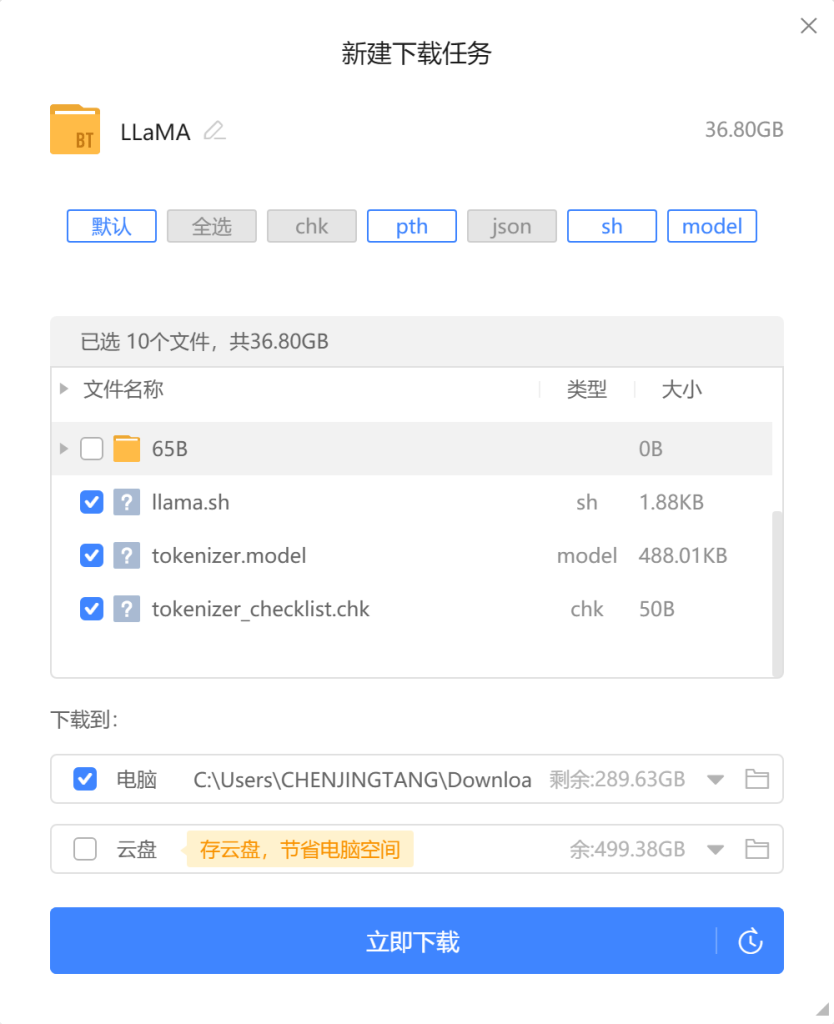
1、磁力链接下载
【本文使用方法】
磁力链接:magnet:?xt=urn:btih:b8287ebfa04f879b048d4d4404108cf3e8014352&dn=LLaMA
2、指令下载
【验证可用,本文不采纳,使用磁力下载的请忽略】
注意:该指令不能时刻查看下载进度,比较无奈。不过好在该指令中断后,重新执行时,是延续下载,非重新下载。
# pip install pyllama -U
# python -m llama.download --model_size 7B
# python -m llama.download --model_size 13B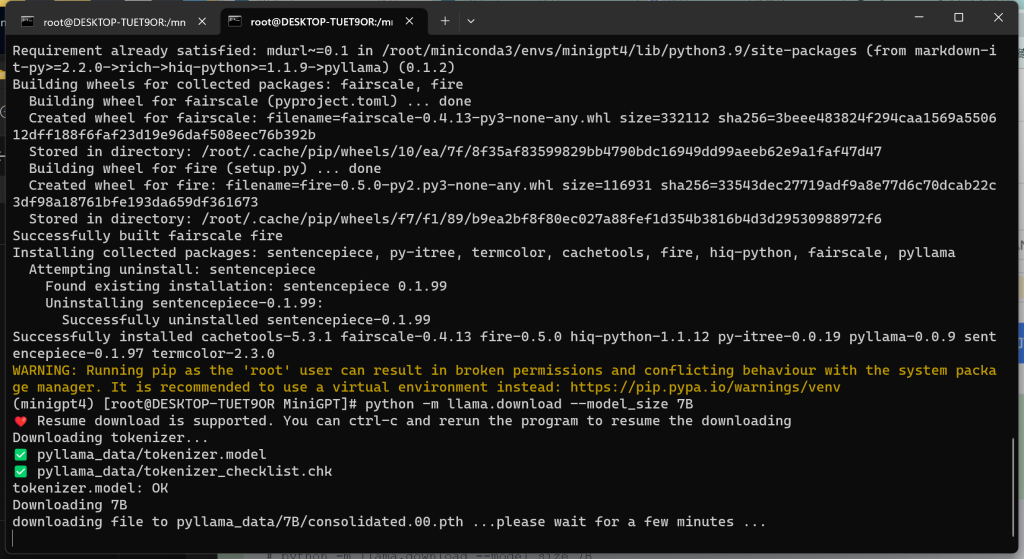
七、获取 Delta 权重文件
1、浏览器下载
访问 https://huggingface.co/lmsys/vicuna-7b-delta-v1.1/tree/main 获取 Vicuna Delta 7B
访问 https://huggingface.co/lmsys/vicuna-13b-delta-v1.1/tree/main 获取 Vicuna Delta 13B
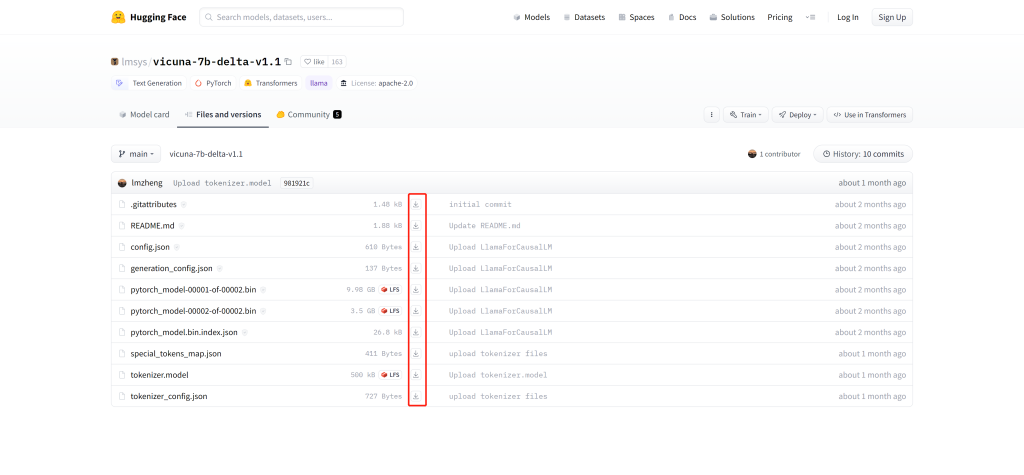
2、Git 下载
【本文使用方法】
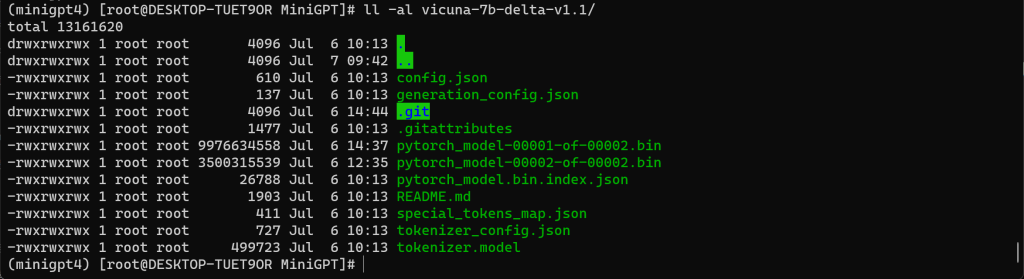
# git lfs clone https://huggingface.co/lmsys/vicuna-7b-delta-v1.1
# git lfs clone https://huggingface.co/lmsys/vicuna-13b-delta-v1.1
提示连接端点失败时,多试几次!

八、安装、执行步骤
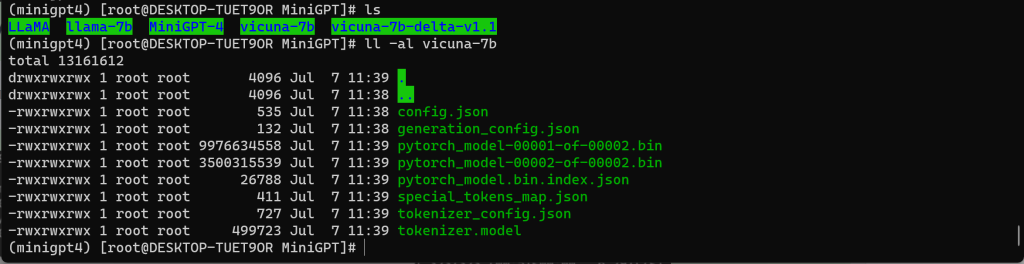
1、查看权重文件

2、获取 MiniGPT-4
注意:回到 MiniGPT 目录中…
# git clone https://github.com/Vision-CAIR/MiniGPT-4.git
# cd MiniGPT-4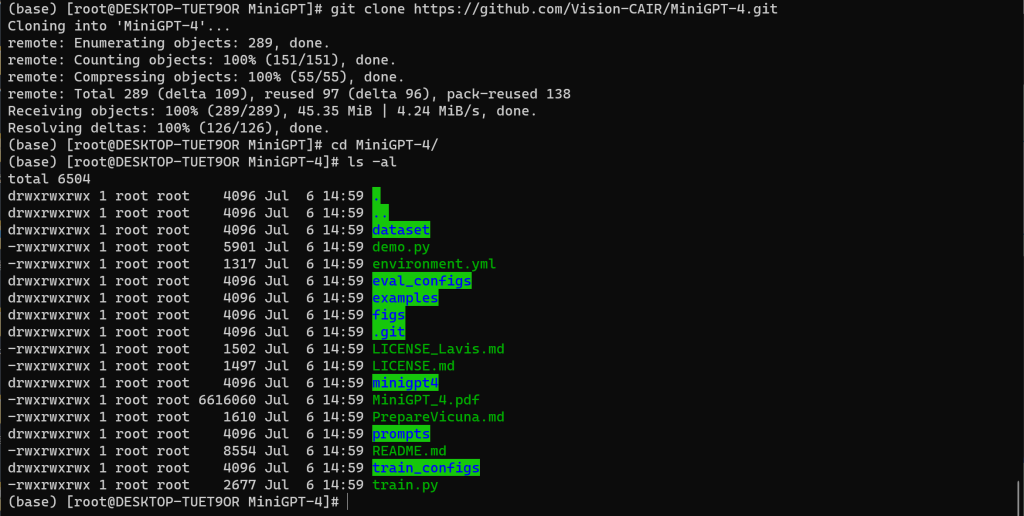
3、安装 MiniGPT-4 环境
# conda env create -f environment.yml执行 # conda env create -f environment.yml 需要网络支撑,如果网络不好很有可能 TimeOut。
需要配合 # conda remove -n minigpt4 –all 删除环境指令多试几回吧!

异常处理:

# yum install gcc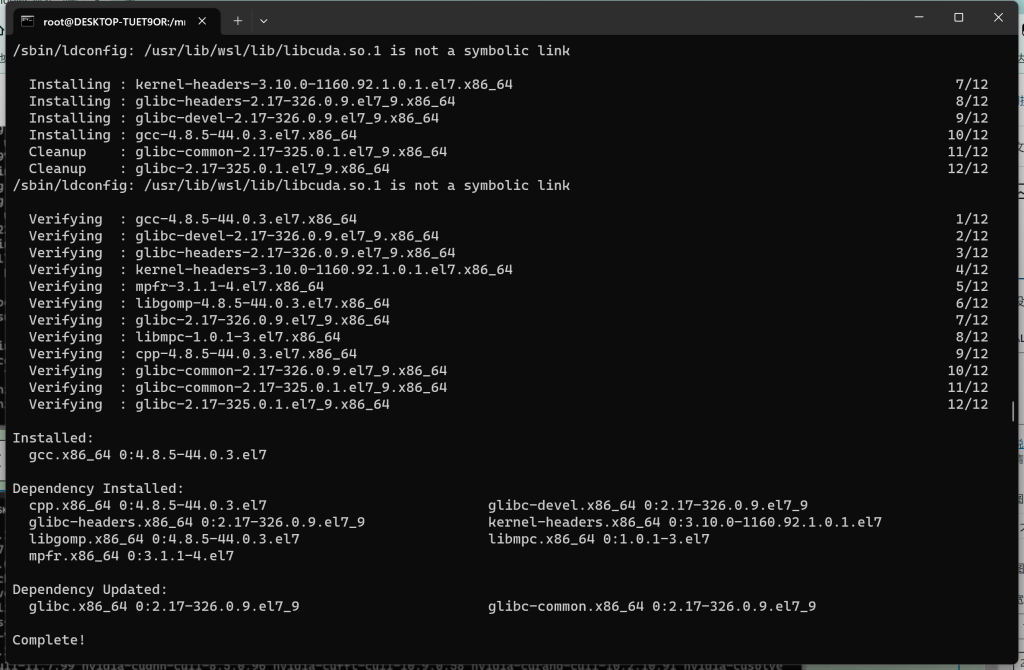
异常处理成功后,重新执行安装 MiniGPT-4 的环境 (在此之前需要删除残存的虚拟环境 minigpt4)
# conda remove -n minigpt4 --all
# conda env create -f environment.yml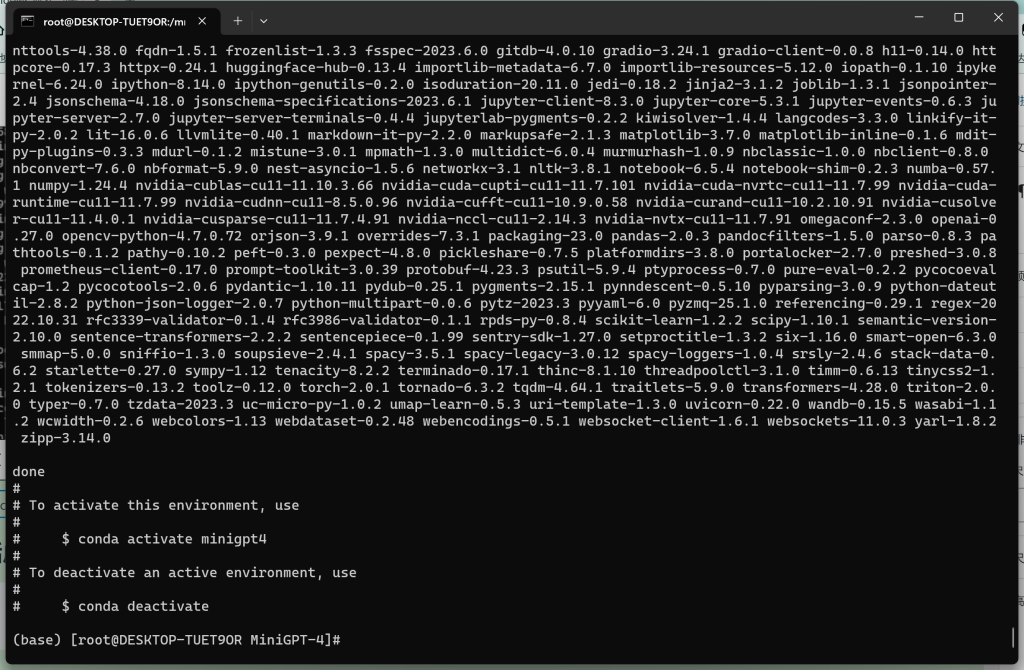
4、激活虚拟环境
# conda activate minigpt4
5、安装 FastChat
注意:回到 MiniGPT 目录中…

# pip install fschat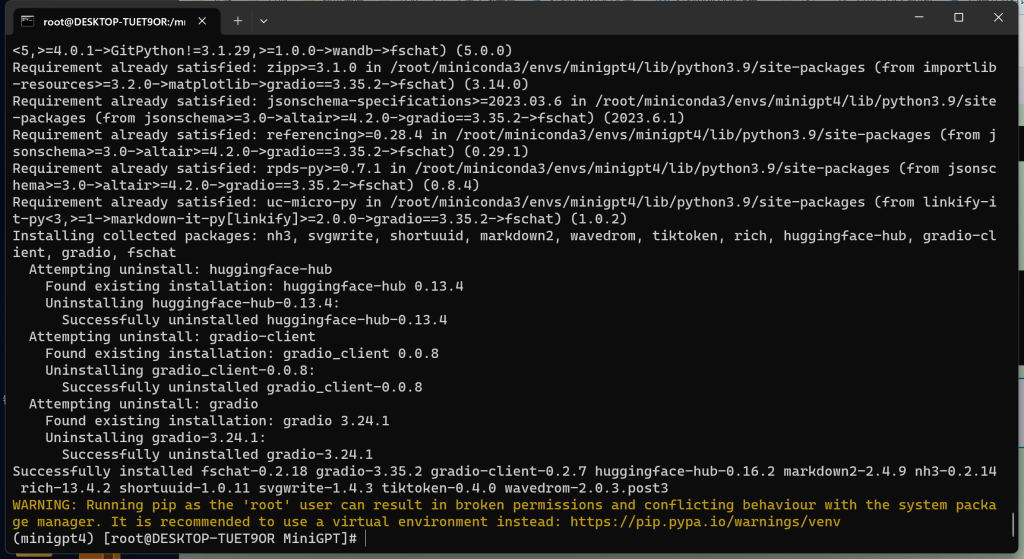
6、安装 Transformers、Sentencepiece
# pip install transformers[sentencepiece]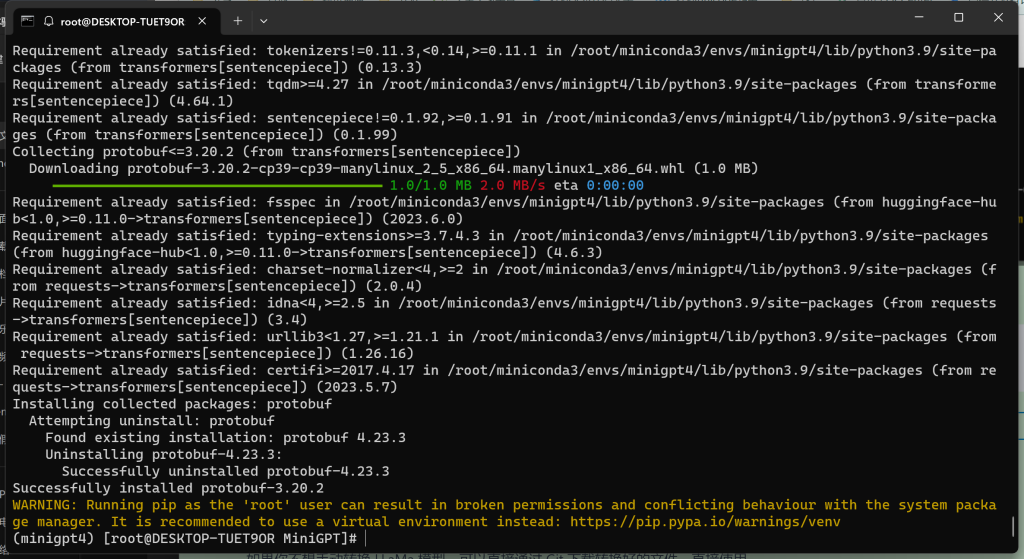
7、转换 LLaMa 模型
如果你不想手动转换 LLaMa 模型,可以直接通过 Git 下载转换好的文件,直接使用
注意:本文未做验证,有兴趣的可以试试
如果使用该方式,则 【7、转换 LLaMa 模型】其他内容可以不用看了,但若后面有关于环境错误的内容,可以检索本文是否有解决方法
# git lfs clone https://huggingface.co/huggyllama/llama-7b
# git lfs clone https://huggingface.co/huggyllama/llama-13b
在转换前,需要找到指令执行需要的脚本文件 convert_llama_weights_to_hf.py !!!
如果使用 Git 安装 Transformers 可以直接使用 src 文件中存在的脚本,如果是让其自动安装的,则找到虚拟环境中的脚本文件。
# conda env list
# find /root/miniconda3/envs/minigpt4 -name convert_llama_weights_to_hf.py
脚本地址:/root/miniconda3/envs/minigpt4/lib/python3.9/site-packages/transformers/models/llama/convert_llama_weights_to_hf.py# python /root/miniconda3/envs/minigpt4/lib/python3.9/site-packages/transformers/models/llama/convert_llama_weights_to_hf.py --input_dir ./LLaMa --model_size 7B --output_dir ./llama-7b参数解释
| –input_dir * | LLaMA权重文件的路径 |
| –model_size * | 7B 或 13B |
| –output_dir * | 转换成功后的保存路径 |
异常处理:
问题一:
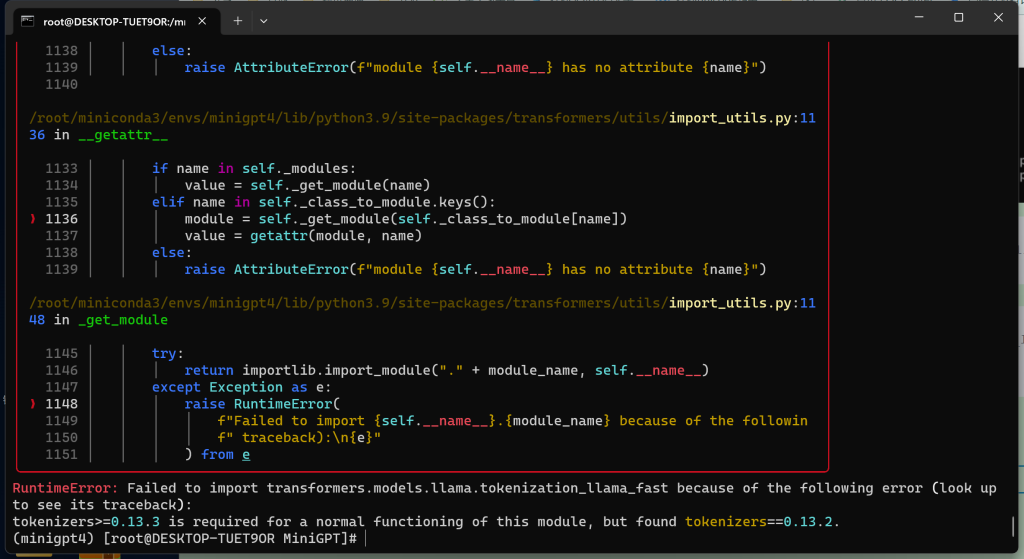
RuntimeError: Failed to import transformers.models.llamatokenization_llama_fast because of the following error (look up to see its traceback):
tokenizers>=0.13.3 is required for a normal functioning of this module but found tokenizers==0.13.2

# pip install tokenizers==0.13.3
问题二:
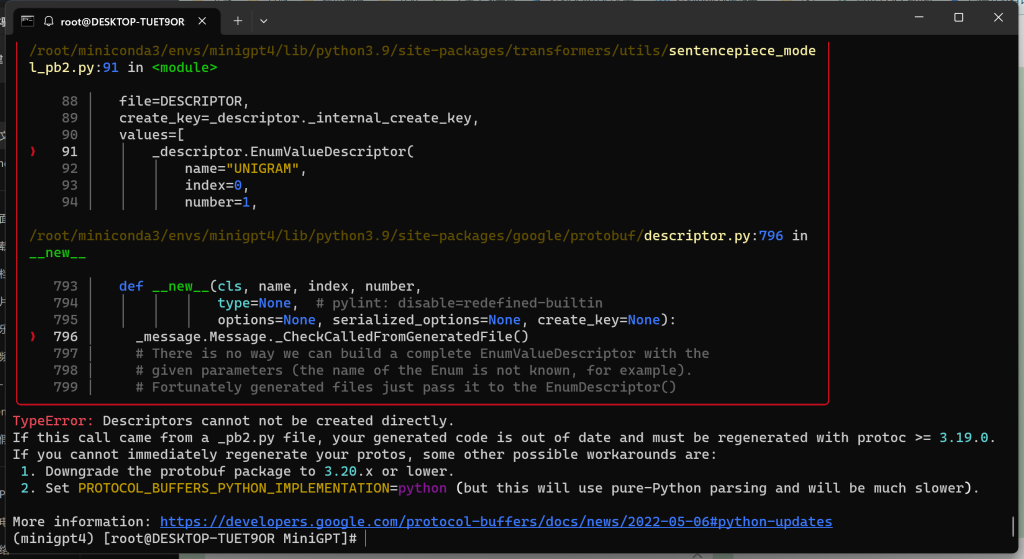
TypeError: Descriptors cannot not be created directly.
If this call came from a _pb2.py file, your generated code is out of date and must be regenerated with protoc >= 3.19.0.
If you cannot immediately regenerate your protos, some other possible workarounds are:
 1. Downgrade the protobuf package to 3.20.x or lower.
 2. Set PROTOCOL_BUFFERS_PYTHON_IMPLEMENTATION=python (but this will use pure-Python parsing and will be much slower).

# pip install protobuf==3.20.2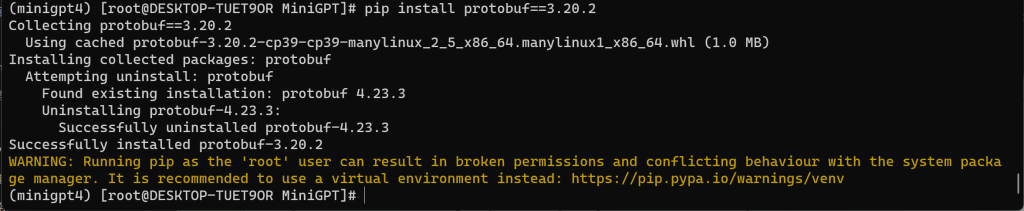
异常处理成功后,继续执行转换 LLaMa 模型的指令


8、合并 LLaMa 生成 Vicuna 模型
# python -m fastchat.model.apply_delta --base ./llama-7b --target ./vicuna-7b --delta ./vicuna-7b-delta-v1.1参数解释
| –base * | 转换 LLaMA 模型后的路径 |
| –target * | 合并生成后的保存路径 |
| –delta * | 7B 使用 vicuna-7b-delta-v1.1、13B 使用 vicuna-13b-delta-v1.1 |
异常处理:

python killed 问题的出现,不是内存溢出,就是内存不足。本文所属后者!
Wsl 会分配物理机一半的运存给到虚拟机,可以使用 # free -h 查看

我们可以这样处理:
在 C:/Users/{所属用户文件夹} 中,新建或修改 .wslconfig,配置内容要遵循物理机的硬件!
[wsl2]
# wsl占用内存
memory=16GB
# 交换分区内存(swap类似于Windows的虚拟内存,从硬盘中划分出一个分区,
# 在物理内存不够时,就会将硬盘空间虚拟成内存使用,用于解决内存不足的情况。)
swap=16GB
# 限制核心数
processors = 8
# 关闭默认连接,将WSL2本地主机绑定到Windows本地主机
localhostForwarding=true
在 Wsl 下,输入 # exit 退出 Wsl,在 Cmd 中输入 > wsl --shutdown 停止服务后,再使用 > wsl 重新进入子系统,查询 # free -h 是否符合配置的内存

异常处理成功后,继续执行合并 LLaMa 生成 Vicuna 模型的指令

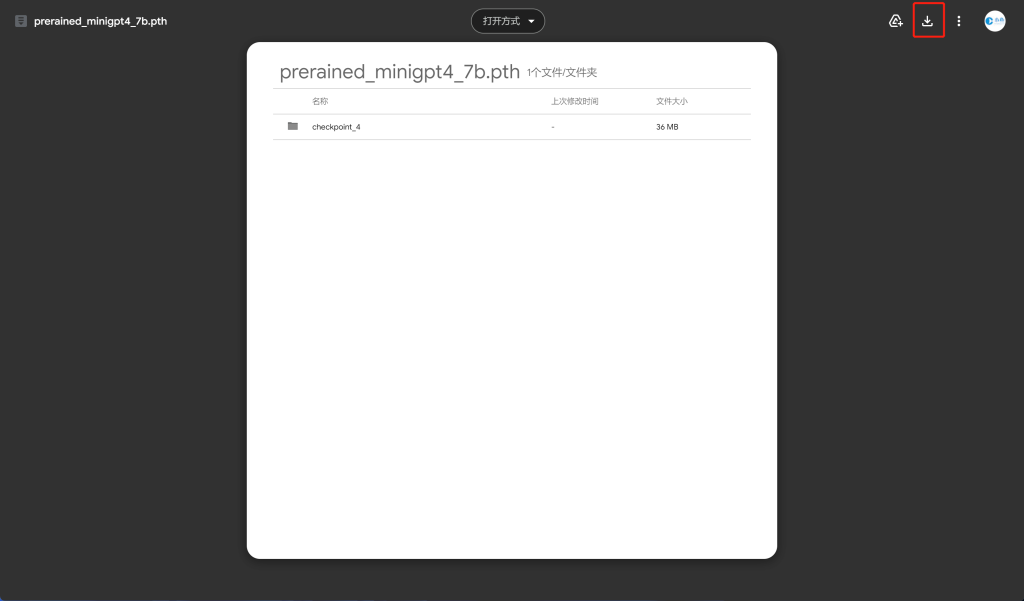
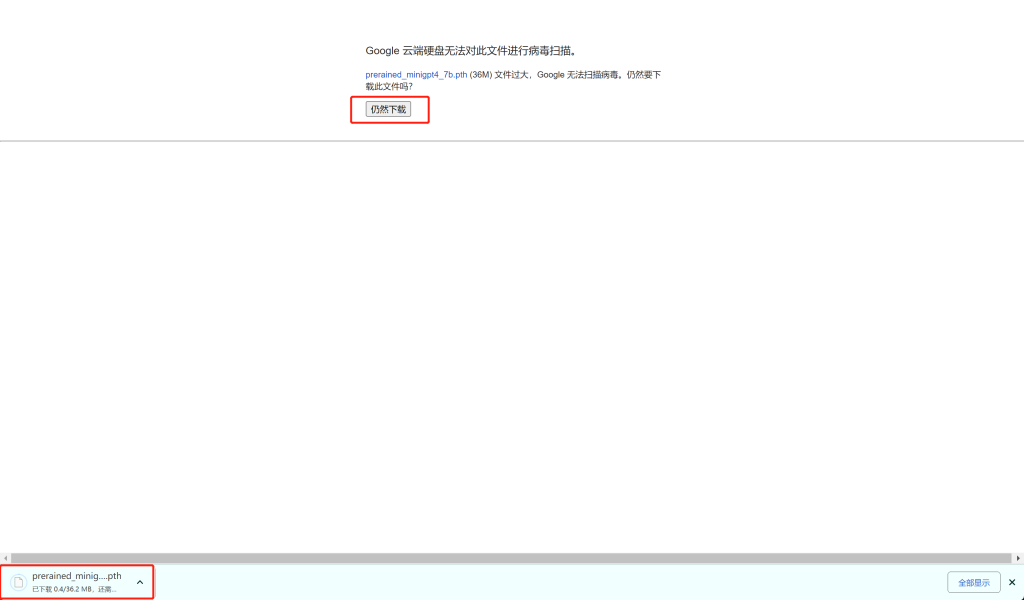
9、获取预训练检查点
备注:此模型为第一阶段预训练后的产物,未经过微调处理,在使用过程中极有可能造成不好的体验。
若想得到良好的体验,在必要时,还是需要自己进行预训练与微调的工作,本文中不做体现,目前也在研究中,到时候会插入跳转连接到此处。


10、编辑配置文件
# cd MiniGPT-4/

# vim eval_configs/minigpt4_eval.yaml
修改文件内容:
ckpt: '/mnt/d/Desktop/MiniGPT/prerained_minigpt4_7b.pth'

# vim minigpt4/configs/models/minigpt4.yaml
修改文件内容:
llama_model: "/mnt/d/Desktop/MiniGPT/vicuna-7b"
11、运行程序
===> 窗口运行
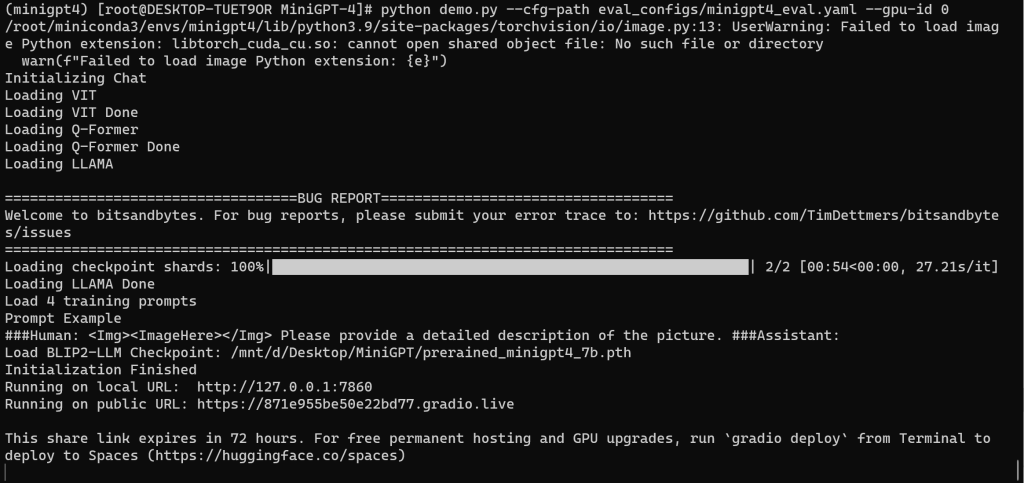
# python demo.py --cfg-path eval_configs/minigpt4_eval.yaml --gpu-id 0
===> 后台运行
# nohup python demo.py --cfg-path eval_configs/minigpt4_eval.yaml --gpu-id 0 > nohup.log 2>&1 &参数解释
| –cfg-path * | 预训练的配置文件 |
| –gpu-id * | 显卡编号【ID】 |
异常处理:
问题一:
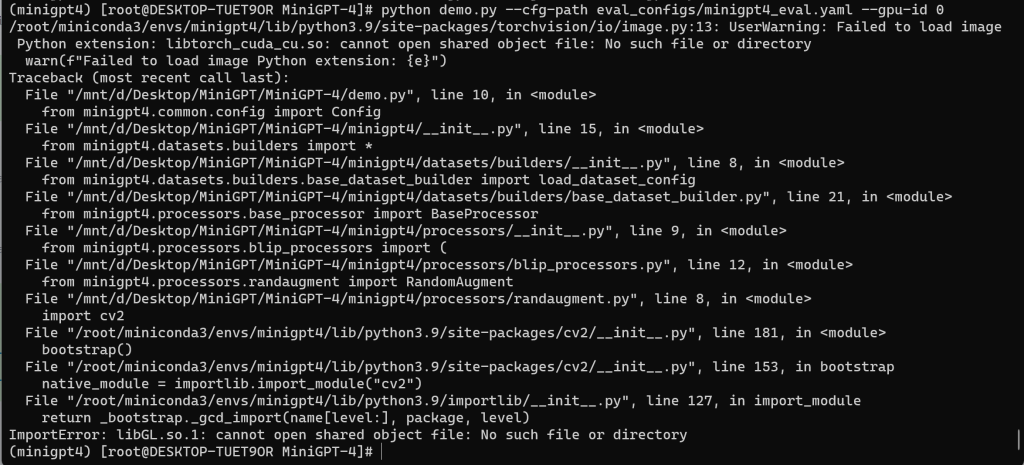
ImportError: libGL.so.1: cannot open shared object file: No such file or directory

# yum install mesa-libGL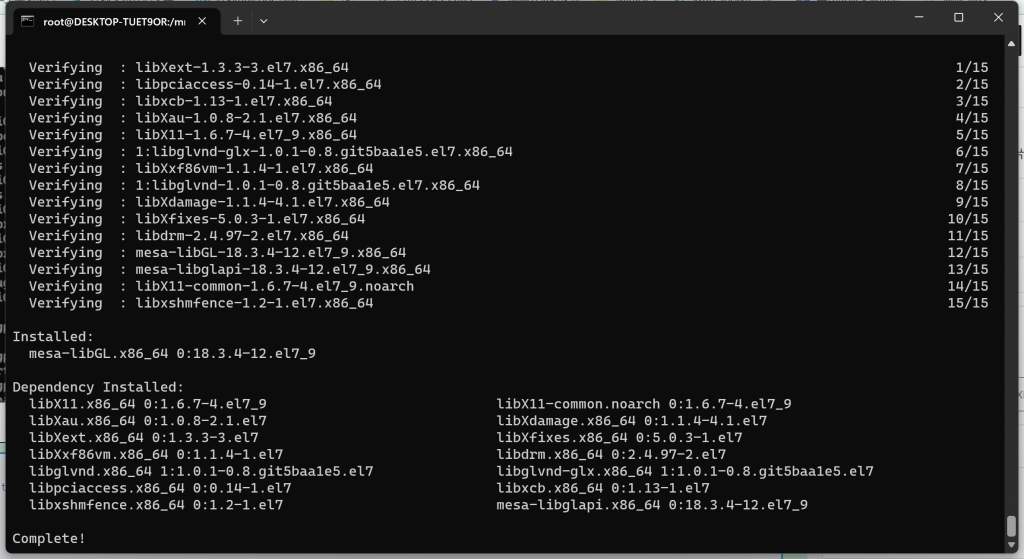
问题二:
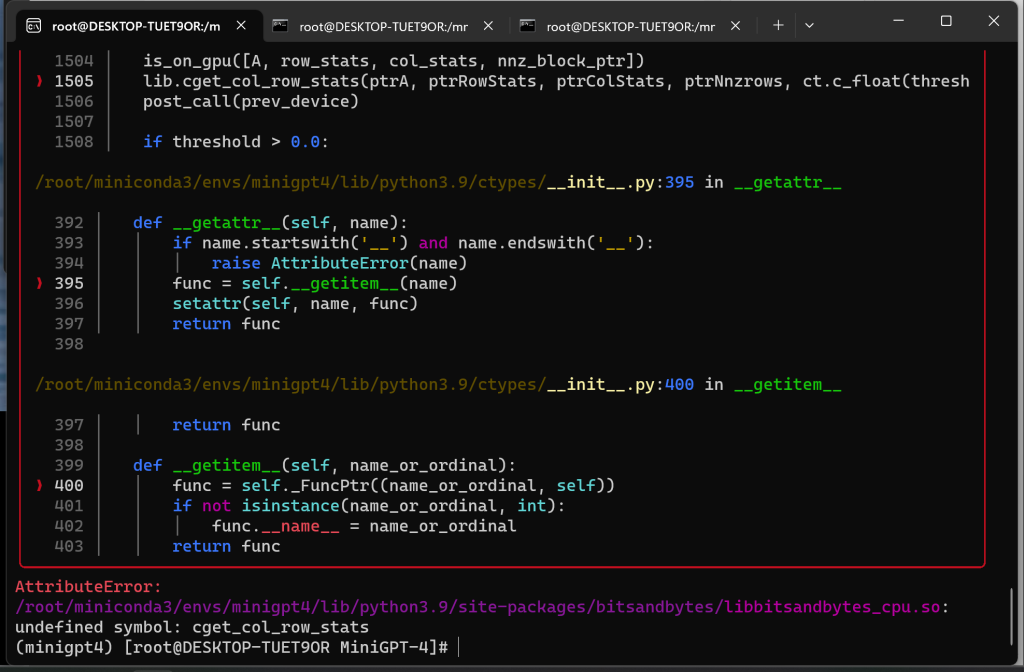
AttributeError:
/root/miniconda3/envs/minigpt4/lib/python3.9/site-packages/bitsandbytes/libbitsandbytes_cpu.so:
undefined symbol: cget_col_row_stats
查看路径 /root/miniconda3/envs/minigpt4/lib/python3.9/site-packages/bitsandbytes/
将 libbitsandbytes_cpu***.so 高版本库复制重命名替换 libbitsandbytes_cpu.so
查找环境安装的 cuda 版本
# pip list | grep nvidia-cuda
尽可能找到对应的 cuda 版本,进行替换
# ll /root/miniconda3/envs/minigpt4/lib/python3.9/site-packages/bitsandbytes/
# cd /root/miniconda3/envs/minigpt4/lib/python3.9/site-packages/bitsandbytes/
# mv libbitsandbytes_cpu.so libbitsandbytes_cpu.so.bak
# cp libbitsandbytes_cuda117.so libbitsandbytes_cpu.so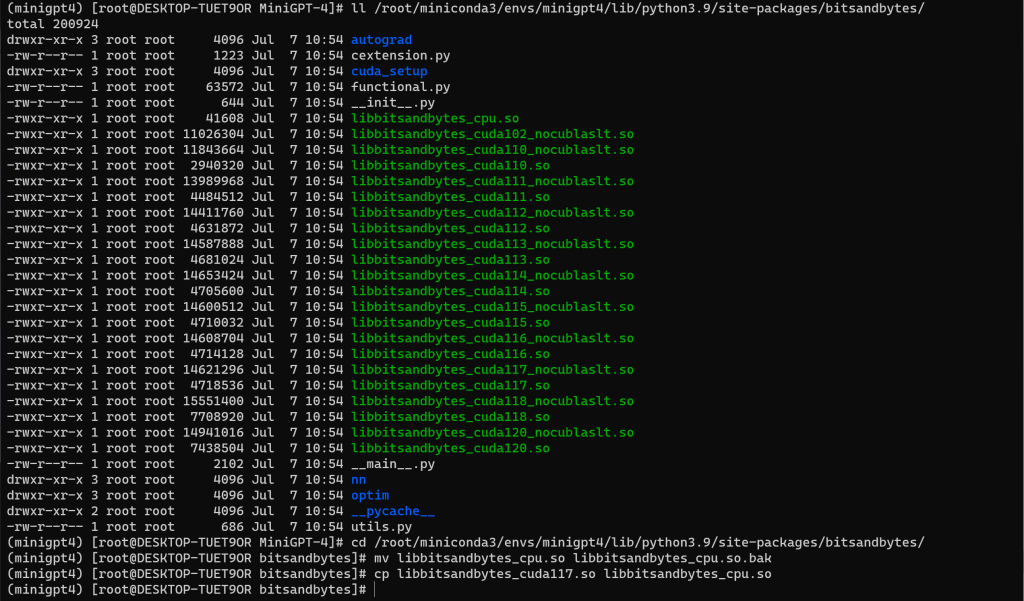
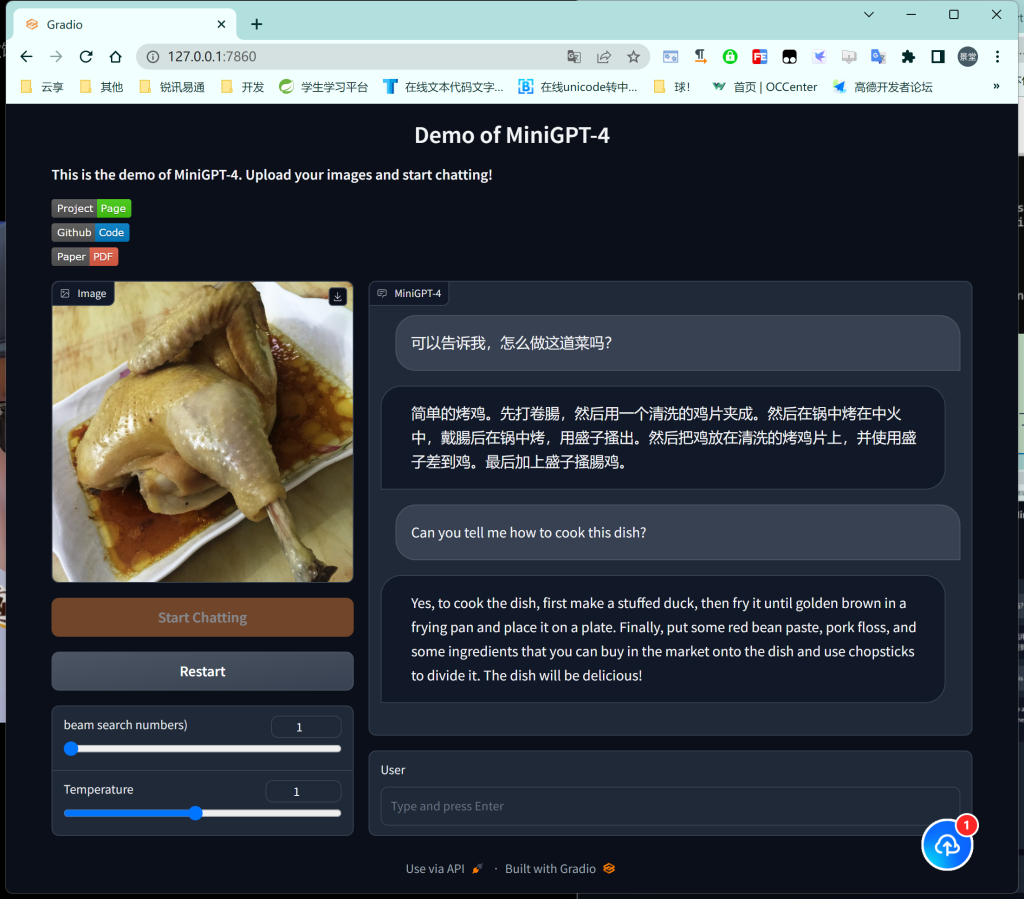
九、运行效果
首先文章使用的是 7B 的模型,再者由于本机的显存有限,可能导致了 AI 的智商有限,多少有点弱鸡!!!
- 打赏


- 微信
- 支付宝